Coloring Royal Icing (Basic Colors & Mixing Guide for Beginners)
This guide shows how to color royal icing, mix food colors, and control shade intensity for cookie decorating.
Coloring royal icing is a key part of cookie decorating with royal icing and is essential when learning how to color royal icing for cookies. Understanding how colors behave, how to mix them, and how saturation changes over time is more important than having a large collection of food colorings.
Gel food coloring is the best option for coloring royal icing because it provides strong, concentrated color without changing the icing consistency.
This guide explains the basic principles of coloring royal icing for cookie decorating, including how many colors you need, how to mix them, and how to control the final result.
If you’re new to icing in general, start with the full royal icing basics guide to understand how icing behaves before working with color.
If you don’t have icing prepared yet, start with the royal icing recipe.
How Many Colors You Need to Start
Beginners often wonder how many food colors they need to buy and whether they should build a large palette right away. In practice, a small set is enough.
Understanding color mixing for royal icing is far more important than owning dozens of ready-made shades.
For beginners, a basic set of six colors is enough:
- red
- black
- yellow (warm egg-yellow)
- blue (cool blue, for example Bright Blue)
- green (for example Forest Green, useful for natural tones)
- brown
This palette is sufficient for most cookie decorating designs.
For more precise color mixing, it can be helpful to also have:
- a cool yellow (lemon)
- a cool red
- a warm blue (Royal Blue)
Having both warm and cool tones allows for cleaner, more controlled results, but this is not required at the beginning.
The Coloring Principle
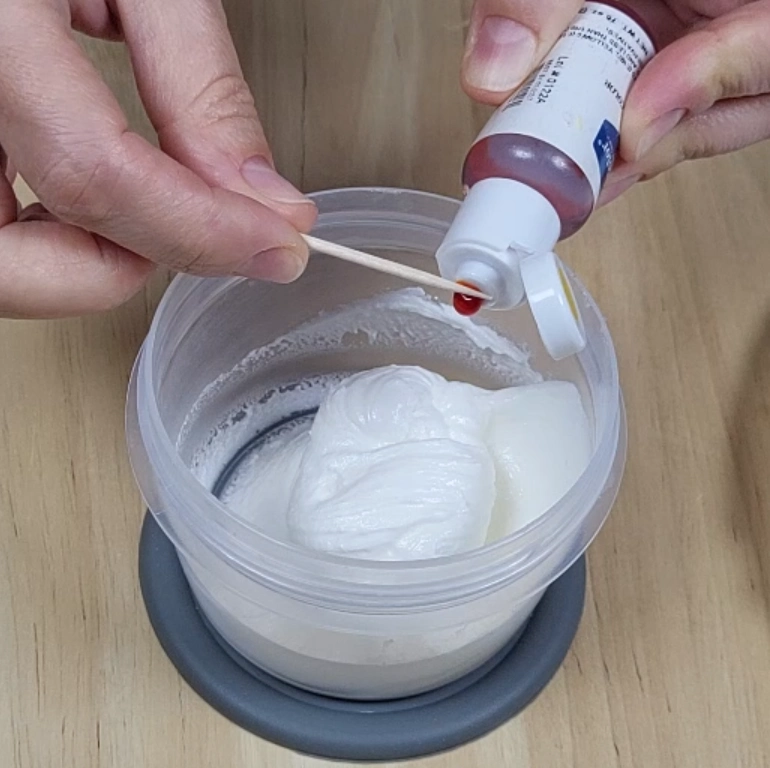
Royal icing should always be colored in its base consistency - the thick mixture obtained immediately after whipping.
First, add the food coloring and mix thoroughly until the color becomes completely uniform. Only after that should you adjust the icing with water to the desired working consistency.
If you’re not sure how consistency works, see the full royal icing consistency guide.
If water is added first and color is added afterward, the pigment distributes unevenly and streaks may appear.
Coloring icing while it is still thick allows the pigment to distribute evenly and produces a clean, smooth result without spots.
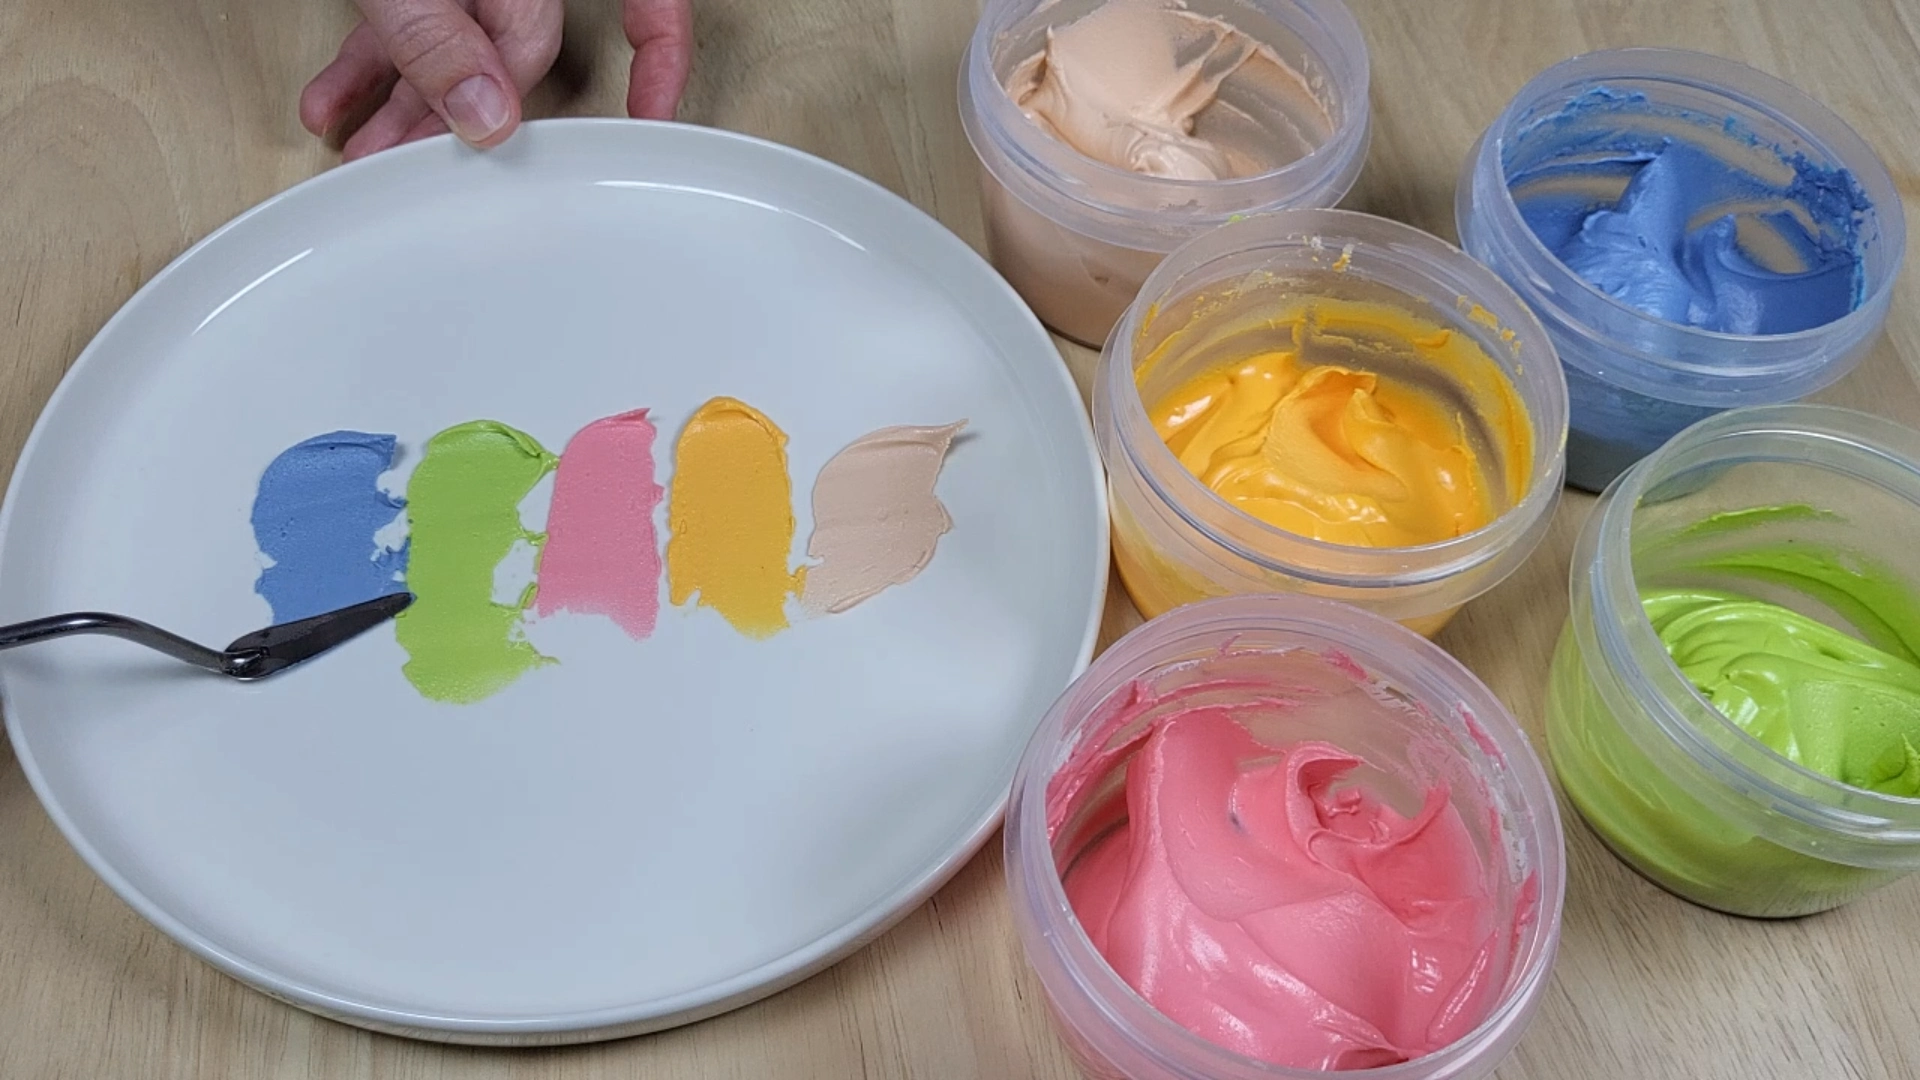
Mixing Basic Colors
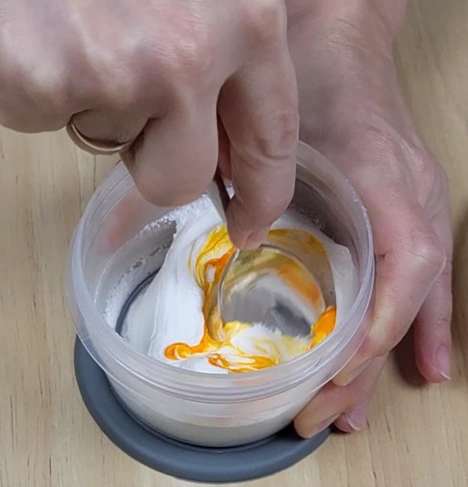
Most shades are created by mixing base colors when working with royal icing colors. The key principle is to choose one base color and add the second color gradually, in very small amounts, mixing thoroughly each time.
- Orange - use yellow as the base and add red gradually
- Green - start with yellow and add small amounts of blue
- Purple - use blue as the base and gradually add red
- Beige - mix a small amount of brown with yellow
- Pink - start with white and add a minimal amount of red
- Gray - add a very small amount of black
The intensity of the final shade depends on how much pigment you add.
These color mixes are typically used when flooding cookies and creating base layers. See how this works in practice in how to flood cookies with royal icing .
Warm and Cool Colors in Practice
Color temperature - warm vs cool - directly affects how colors mix and what final shades you get.
- Warm yellow produces softer, more natural tones
- Lemon yellow creates cleaner greens and brighter mixes
- Warm blue (Royal Blue) produces richer purples
- Cool blue creates a colder color palette
- Warm red works better for orange tones
- Cool red produces cleaner purple shades
Understanding this helps you create more controlled and predictable results when mixing royal icing colors.
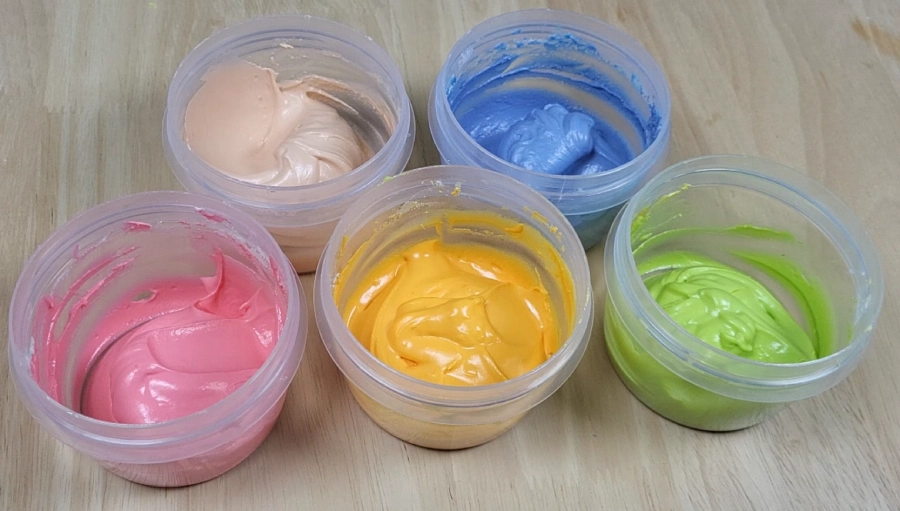
Color Saturation Over Time
After adding food coloring, the shade may initially appear lighter than it will become later.
Within 30–60 minutes, the color usually deepens and becomes more saturated.
This is important when working with royal icing colors. If the shade looks slightly pale, it is better not to add more pigment immediately.
Red and black require significantly more pigment than other colors, and their intensity develops gradually over time rather than appearing instantly.
Download Practice Templates
To practice outlining, flooding, and color control, you can download ready-to-use templates.
These templates help you improve consistency, hand control, and understand how icing behaves in real decorating situations.
Download practice templates for outlining and flooding (PDF)
Conclusion
A small set of food colors is enough to start decorating cookies with royal icing.
Understanding how to mix colors, control saturation, and work with base icing will allow you to create a wide range of shades without needing a large palette.
To apply these colors in practice, see the full decorating process → how to decorate cookies step by step.