Sugar Cookie Recipe for Decorating (No-Spread, Smooth Surface)
This butter-vanilla sugar cookie recipe for decorating is designed specifically for cookie decorating with royal icing. The dough is simple to make, easy to work with, and reliable in the oven: it holds its shape well, does not spread, and changes very little in size during baking.
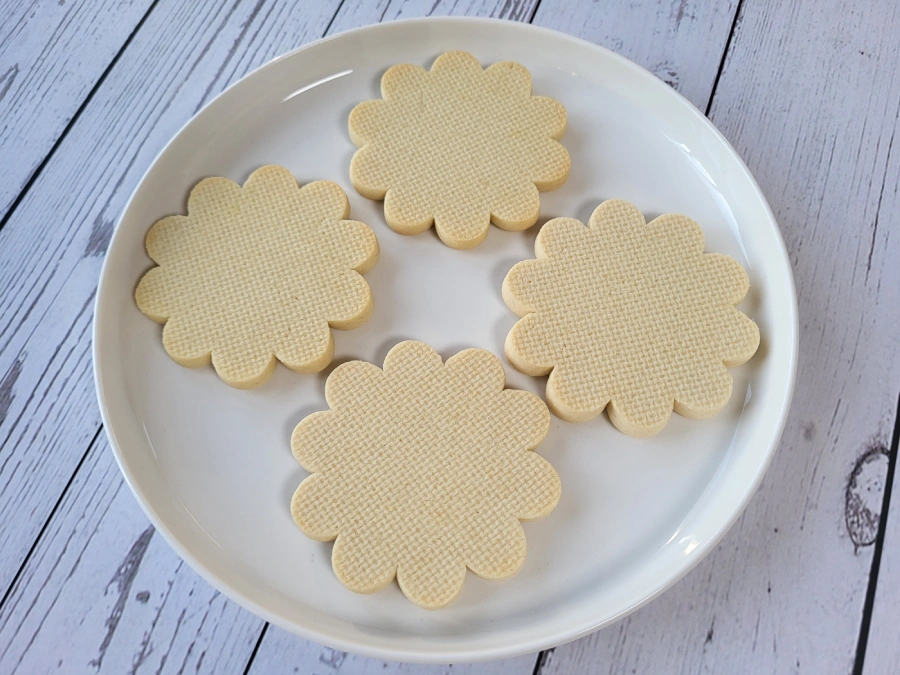
The finished cookies have a smooth, even surface without cracks and clean, sharp edges, which makes them an ideal base for decorated sugar cookies and detailed royal icing designs. If you want cookies that look neat before you even start decorating, this is the kind of dough you need.
Ingredients
- 100 g unsalted butter, cubed and at room temperature
- 80 g powdered sugar
- 1 egg
- 270–280 g all-purpose flour
- 10 g vanilla sugar
Why These Ingredients Matter
Butter makes the dough soft and workable while helping the cookies hold their shape during baking. Powdered sugar gives the dough a smoother texture than regular granulated sugar, which helps create a cleaner surface on the baked cookies. Chilling the dough is just as important as the ingredients themselves, because it prevents spreading and keeps the cookie edges sharp.
Equipment
- mixer
- rolling pin
- cookie cutters
- perforated baking mat or parchment paper
- baking tray
For a full list of basic tools, see cookie decorating tools & materials.
Step-by-Step Sugar Cookie Recipe
Step 1 - Prepare the Butter Base
Place the softened butter in a mixing bowl, add the vanilla sugar, and beat until smooth and evenly combined.
Step 2 - Add the Powdered Sugar
Add the powdered sugar in 2–3 stages, mixing well after each addition. The mixture should become lighter in color and slightly increase in volume.
Step 3 - Add the Egg
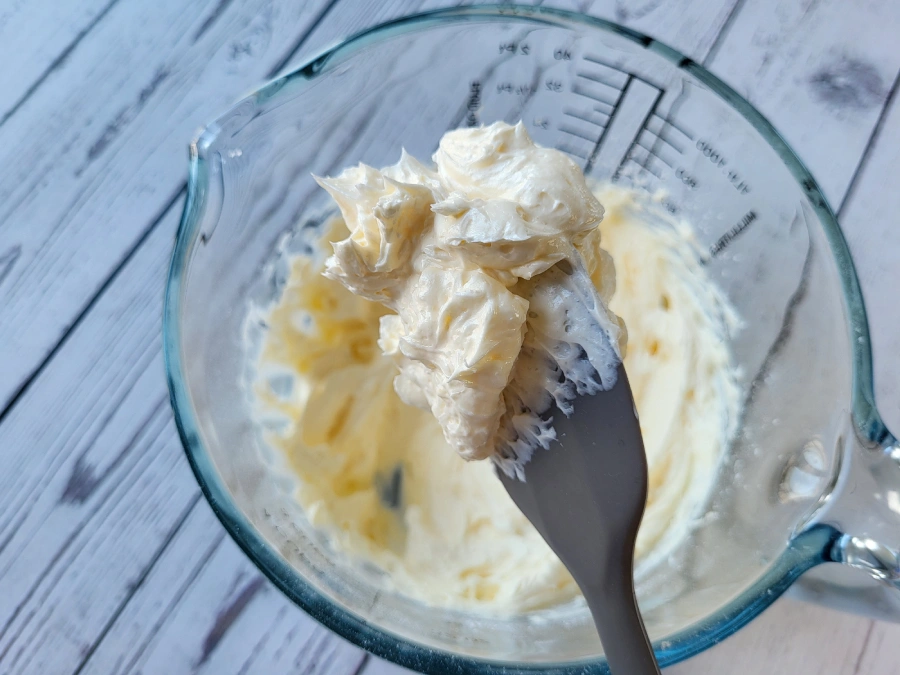
Add the egg and mix until the texture becomes smooth and fully uniform. For easier emulsifying, you can add the egg in 2–3 stages rather than all at once.
By the end of this step, the mixture should look creamy, smooth, and thick enough to cling to the whisk.
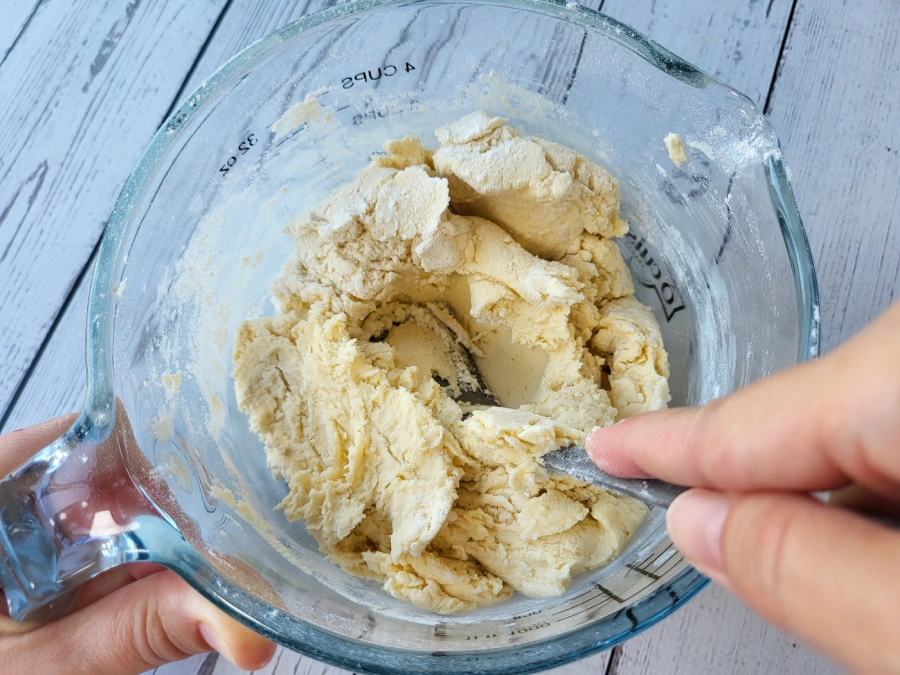
Step 4 - Add the Flour
Add the flour in 2–3 stages, mixing each time just until the dough comes together. You can begin with the mixer on low speed and then switch to a spatula or spoon. You can also mix the dough by hand from the start if that feels easier. The important thing is not to overwork it.
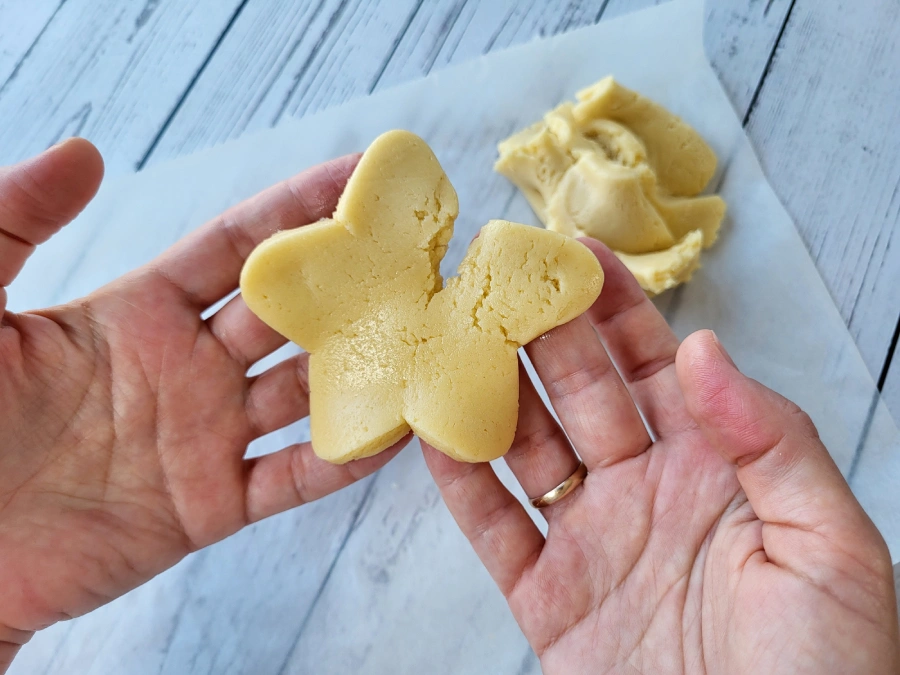
Step 5 - Chill the Dough
Form the dough into a ball, wrap it in plastic wrap or place it in a bag, and chill it in the refrigerator for at least 2–3 hours.
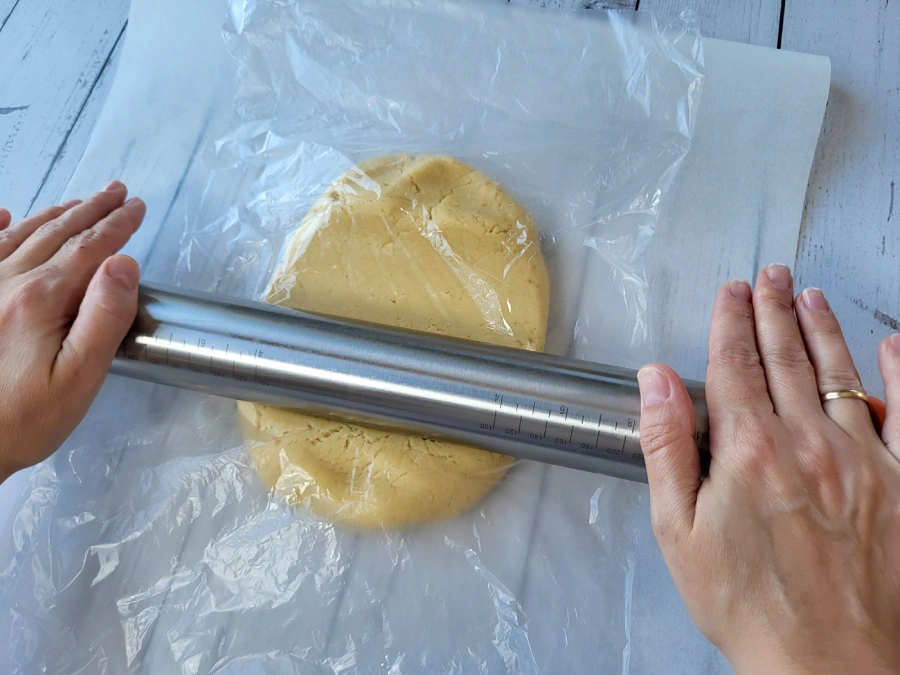
You can also roll the dough out immediately between sheets of parchment paper and chill it flat. Choose whichever method is more convenient for you.
Chilling is an essential step in any cookie dough for decorating. It helps the dough keep its shape, prevents spreading in the oven, and makes cutting much easier.
Step 6 - Roll the Dough
Take the dough out of the refrigerator. If you chilled it as a ball, roll it out to a thickness of about 6 mm.
If the dough was already rolled before chilling, you can move straight to cutting and simply even out the thickness if needed.
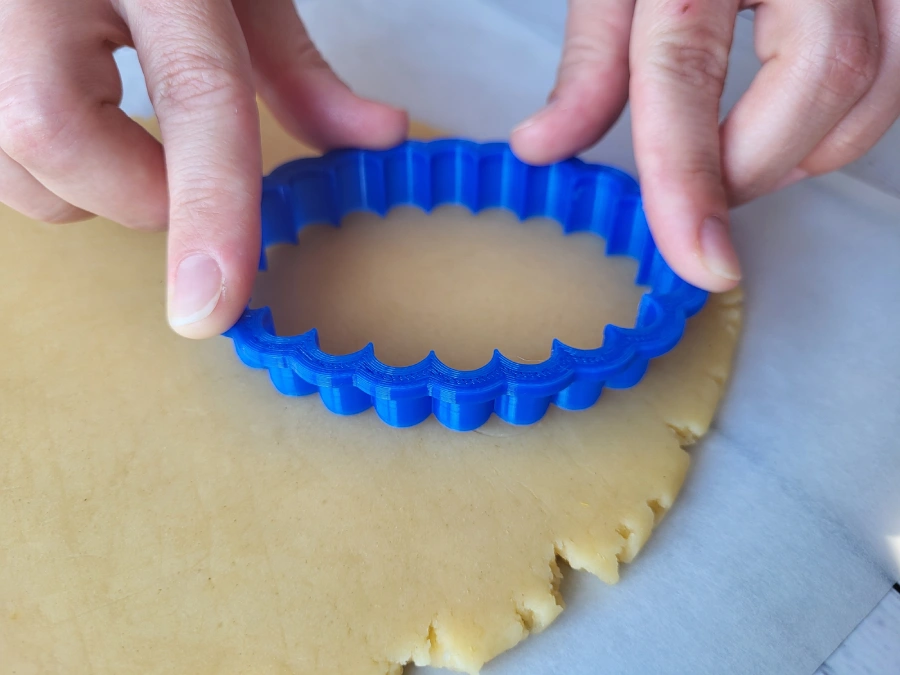
Step 7 - Cut the Cookies
Cut the dough with cookie cutters. If you don’t have cutters, this dough also works very well for cutting shapes with paper templates and a knife.
I show this method in detail in a separate guide: cutting cookie dough with template.
Step 8 - Bake
Place the cookies on a baking tray lined with a perforated mat or parchment paper and bake in a preheated oven at 356°F (180°C). I bake these cookies using convection.
Small cookies up to about 10 cm usually take 7–8 minutes. Larger cookies may need anywhere from 10 to 15 minutes depending on size.
The dough should remain mostly pale, with only a light golden color around the edges. I usually check doneness without removing the tray from the oven: I gently press the surface, and if no indentation remains, the cookies are ready.
Step 9 - Cool Completely
Remove the cookies from the oven and transfer them to a cooling rack, or leave them on the tray until they cool completely.
If you plan to decorate them with icing, the cookies must be fully cooled first. If you are not decorating them right away, store them in a covered container to keep them clean and fresh.
Helpful Tips
The ideal butter temperature for mixing is around 18–20°C. All ingredients should be roughly the same temperature, so it helps to prepare them in advance and let them sit at room temperature before you start. This makes the dough come together more evenly.
It is also important not to knead the dough too long. Overworking it can warm the butter too much and make the final cookie texture denser than it should be.
Common Mistakes
Ingredients at Different Temperatures
If the butter is cold and the egg is warm, or the other way around, the mixture may split. This creates small lumps and an uneven texture.
Adding Too Much Flour
Sometimes the dough seems too soft and it is tempting to add extra flour. That usually makes the dough dense and heavy, and the baked cookies turn out harder than they should.
Dusting the Dough with Flour While Rolling
If you keep adding flour while rolling and then reworking the scraps, the dough gradually becomes overloaded with flour and loses its delicate texture. I do not dust the dough with flour for this reason. It is better to use parchment or plastic wrap.
Not Chilling the Dough Enough
If the dough is not properly chilled, it becomes sticky, harder to handle, more difficult to transfer to the tray, and more likely to lose its shape.
Replacing Powdered Sugar with Regular Sugar
Granulated sugar does not dissolve the same way powdered sugar does, so the dough and the finished cookies end up with a rougher, less even texture.
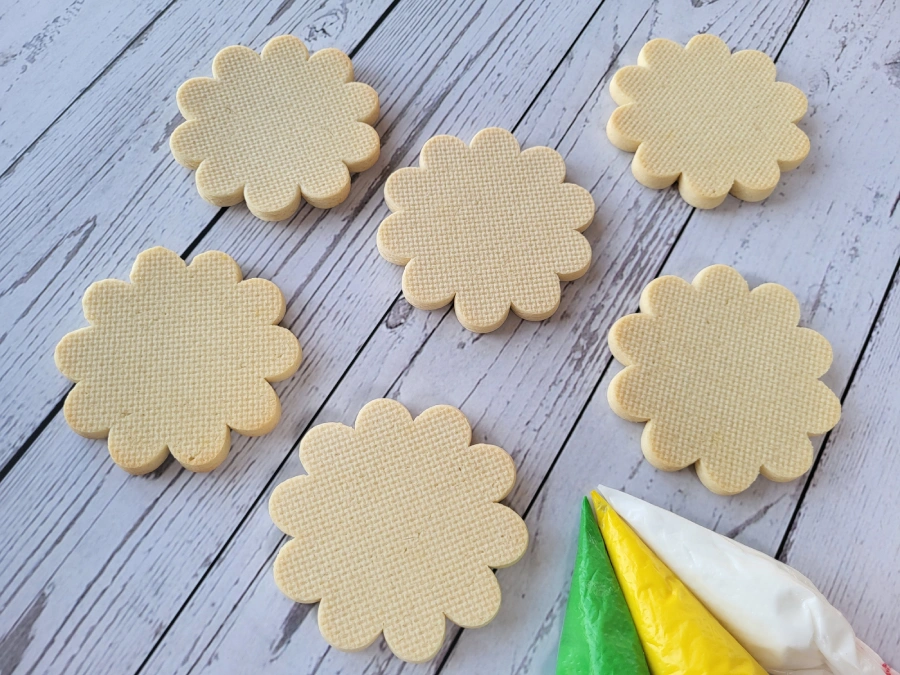
Before Decorating
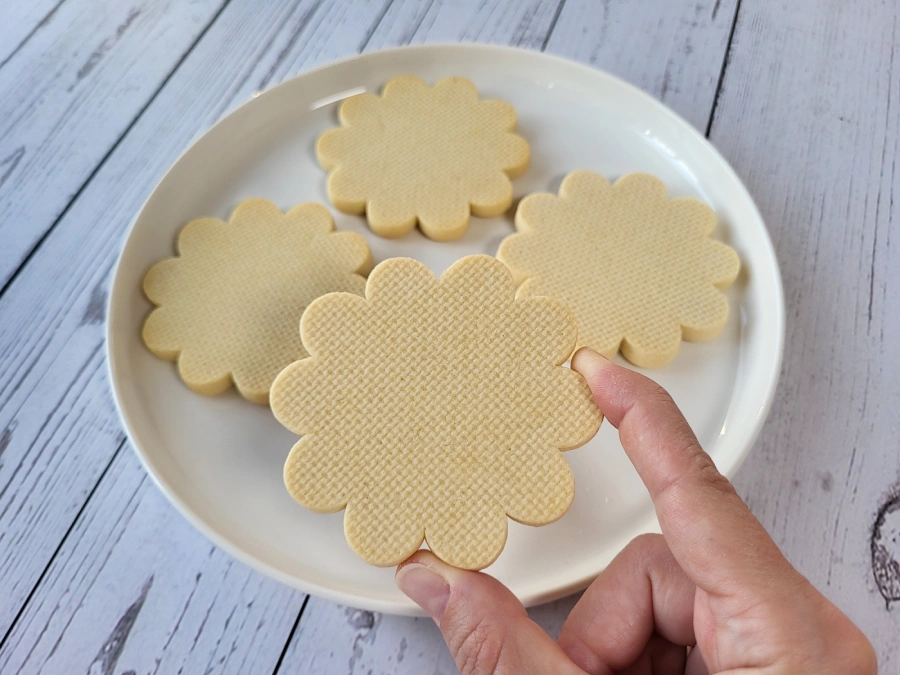
At this point, your cookies are fully baked and ready for royal icing cookie decorating. They are not hard, but they hold their shape well. They have a smooth surface and clean edges on both sides, which makes them ideal sugar cookies for decorating.
You can decorate either side of the cookie because both surfaces are even. I personally like decorating the back side quite often.
If you are just getting started or want to understand the basic techniques, move on to the next step: how to decorate cookies step by step.
This recipe is not just about baking cookies. It gives you a strong foundation for the entire decorating process.