How to Dry Royal Icing (Temperature, Timing & Techniques)
This guide explains how to dry royal icing properly on cookies, including surface stabilization, complete drying, and how drying affects cookie decorating results.
If you're new to icing, start with the royal icing basics guide.
Why It Is Important to Understand the Drying Stages
After icing is applied, it goes through two stages. To dry royal icing correctly, it is important to understand how these stages work.
- surface stabilization
- complete internal drying
Surface stabilization allows you to continue decorating.
Complete drying is necessary before packaging the cookies or adding additional decorative layers.
The surface may appear dry after 30–60 minutes, but inside the icing can still remain moist and continues to stabilize.
Drying time depends on icing thickness, but surface drying usually takes 30–60 minutes, while complete drying can take several hours.
Drying Methods
Cookies decorated with royal icing can be dried:
- at room temperature
- using forced drying
Forced drying refers to drying the cookies in a dehydrator or in an oven.
Temperature Range
- 104–113 °F (40–45 °C) - optimal temperature
- not higher than 122 °F (50 °C)
If you are using an oven:
- turn on the convection mode
- leave the oven door slightly open
Important:
At temperatures above 122 °F (50 °C), the icing can begin to boil internally.
A crust forms on the surface while the inner mass expands. The crust then breaks, which leads to cracks in the icing.
Advantages of Forced Drying
- less dependence on air humidity
- faster workflow
- more consistent results
- prevents small details from sinking
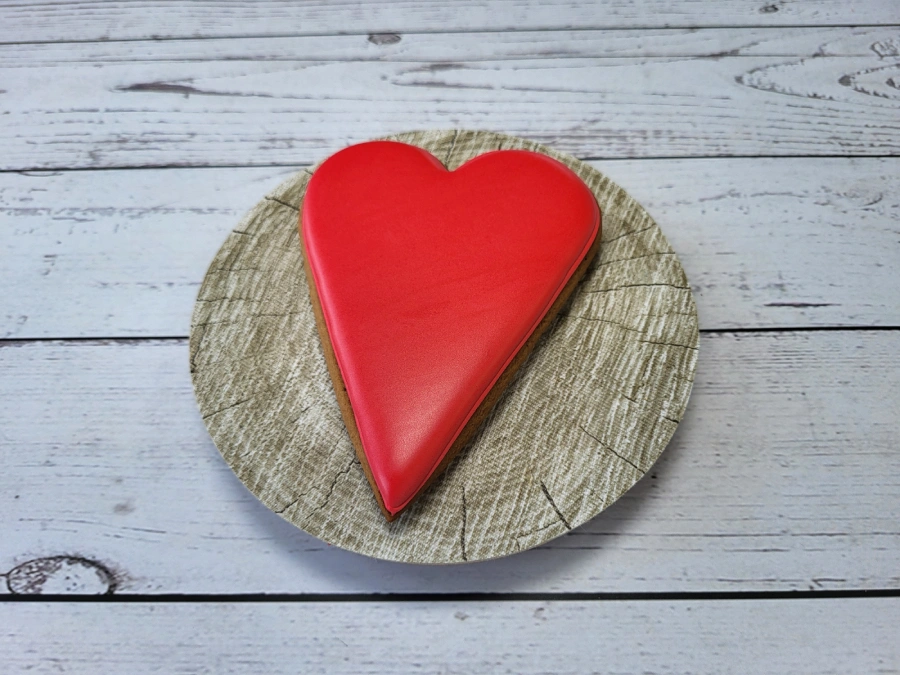
- creates a more noticeable glossy finish
Drying Depending on Icing Consistency
Drying behavior depends heavily on icing thickness. If you're not sure how consistency works, see the royal icing consistency guide .
Drying the Outline
The outline is applied as a thin line and contains less moisture.
Usually it requires:
- 1–2 minutes at room temperature
During this time the outline sets and begins to hold the flood icing inside the shape.
Forced drying is not required for outlines.
Intermediate Drying
Intermediate drying is necessary when decorative elements are placed close together and may touch each other.
Before flooding a neighboring element, it is usually enough to allow:
- about 10 minutes of drying
This can be done either at room temperature or with a short period of forced drying.
This step helps maintain clean edges and prevents icing from spreading into adjacent areas.
Drying Medium and Thick Consistency Icing
Medium and thick icing contain less moisture and therefore stabilize more quickly.
If intermediate drying was used during decorating and each element was allowed to stabilize before the next one was added, then after finishing the decoration it is usually enough to:
- place the cookies in a dehydrator or oven for 10–15 minutes
- then leave them to finish drying at room temperature
Since the elements are already partially stabilized, long drying times are not necessary.
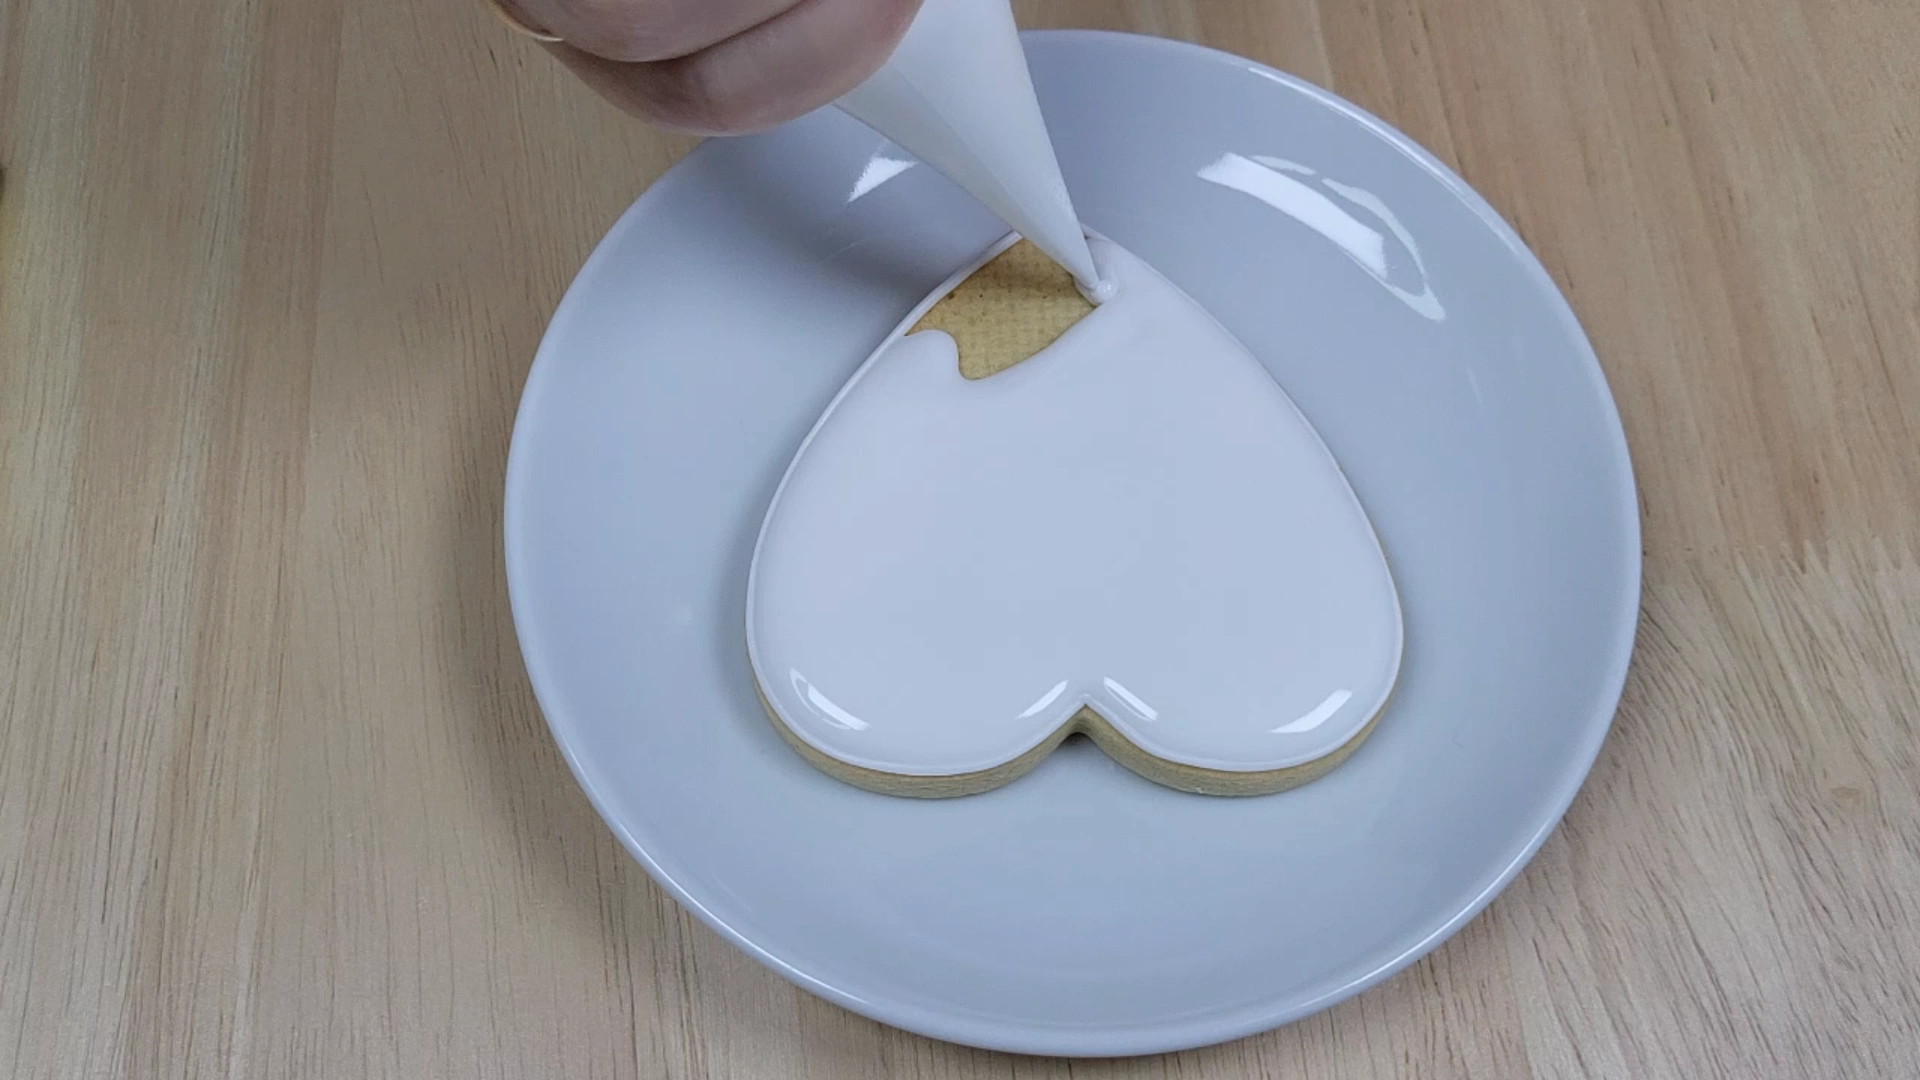
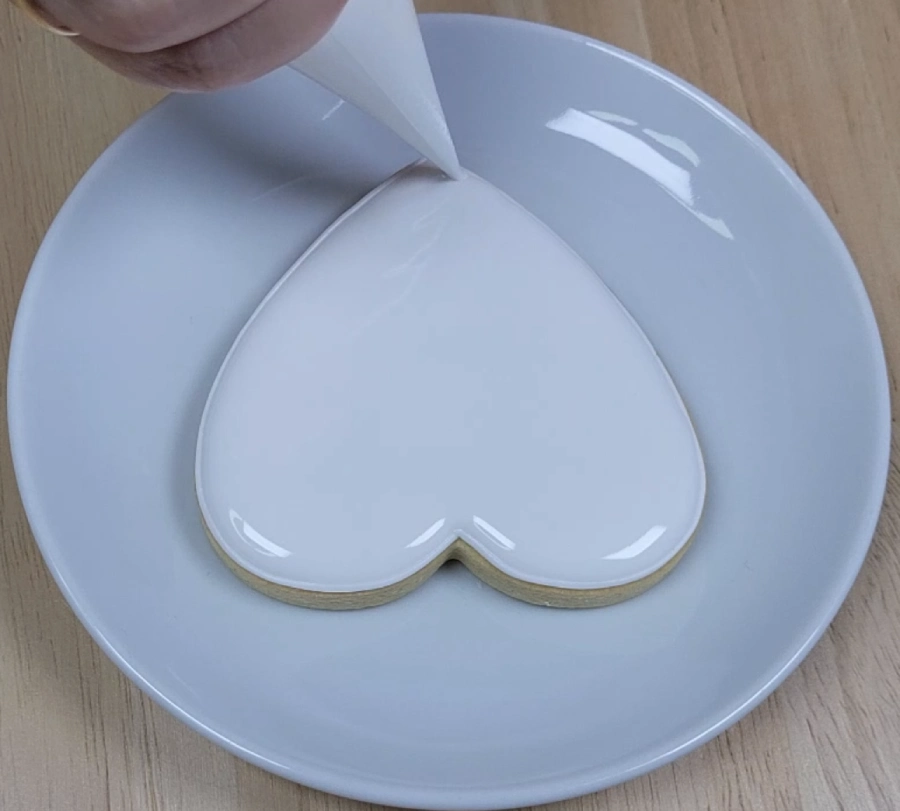
Drying Flood Consistency Icing
Flood consistency icing contains more moisture and forms a stable surface more slowly.
For large background floods, it usually requires:
- 30–40 minutes of forced drying to stabilize the surface
- then additional drying at room temperature
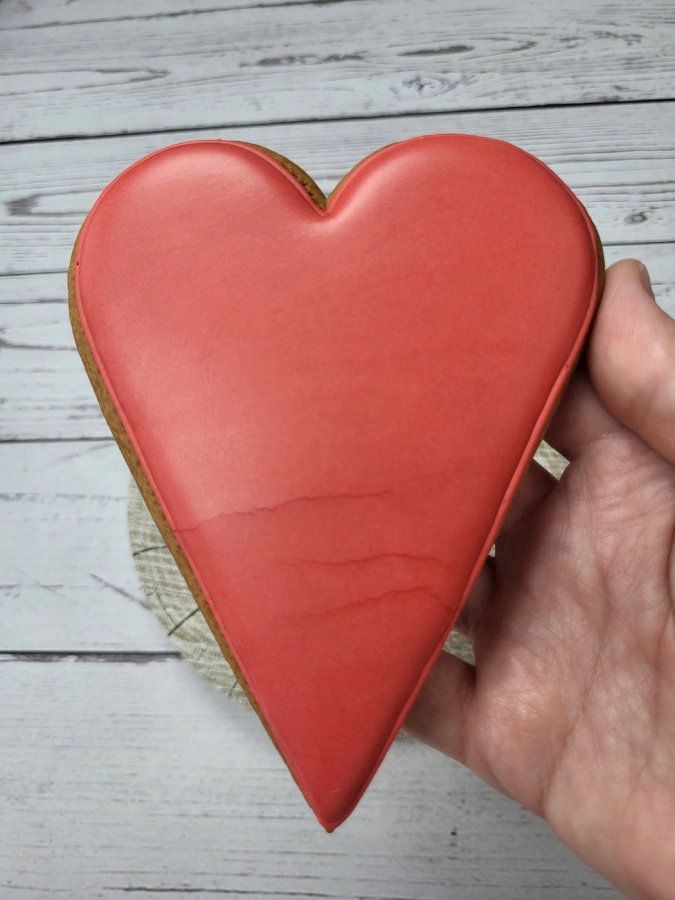
The surface stabilizes faster than the inner mass of the icing.
Complete Drying
Forced drying helps the surface crust form faster, but it does not replace complete internal drying.
Inside, the icing remains slightly moist and continues to stabilize.
Complete drying usually takes:
- 5–6 hours when working with medium or thick consistency
- up to 8 hours when using flood icing
Drying time depends on the thickness of the icing layer and the humidity of the air.
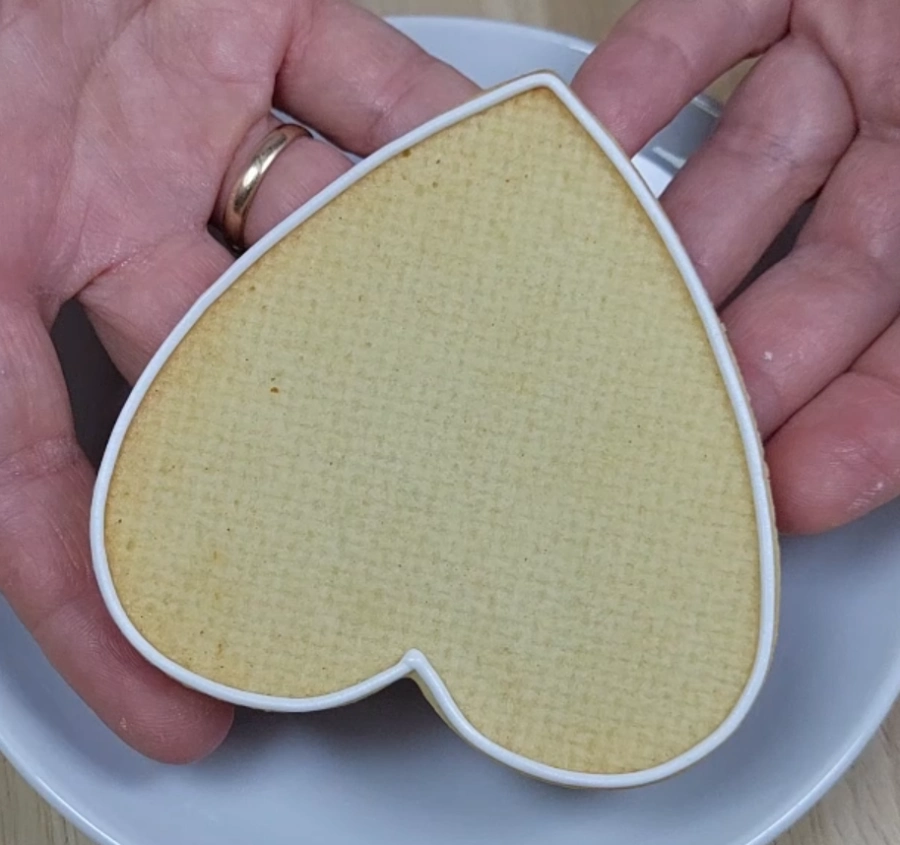
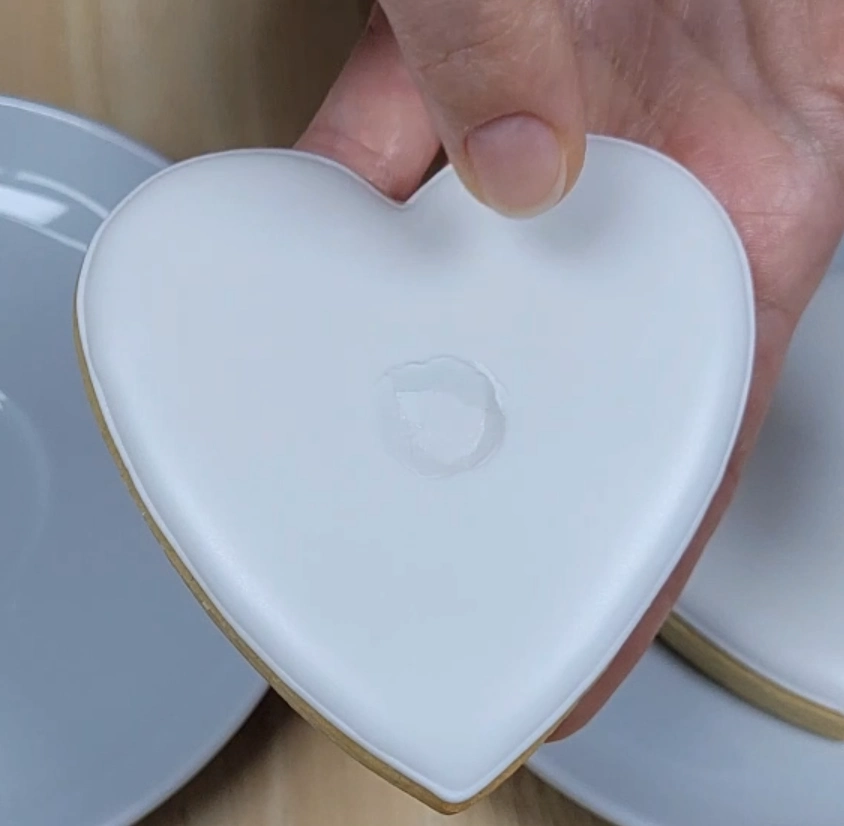
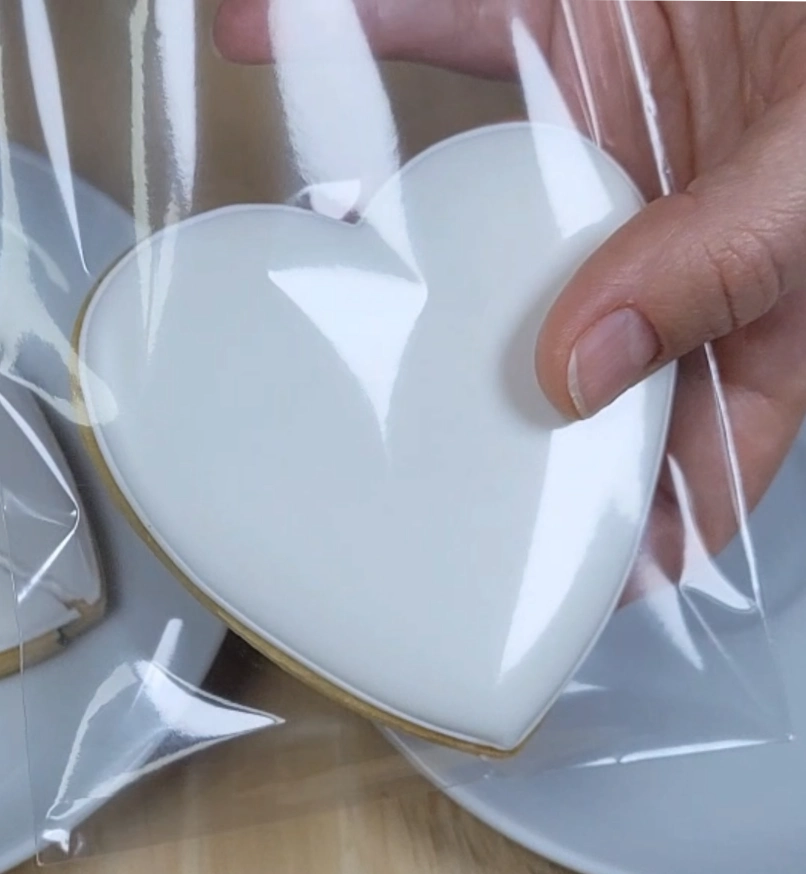
Working with Fully Dried Icing
Packaging and transferring designs are possible only after the icing is completely dry.
Before the icing has fully dried:
- light decorative elements can be added by hand (thin lines, dots)
- pressure should not be applied to the surface
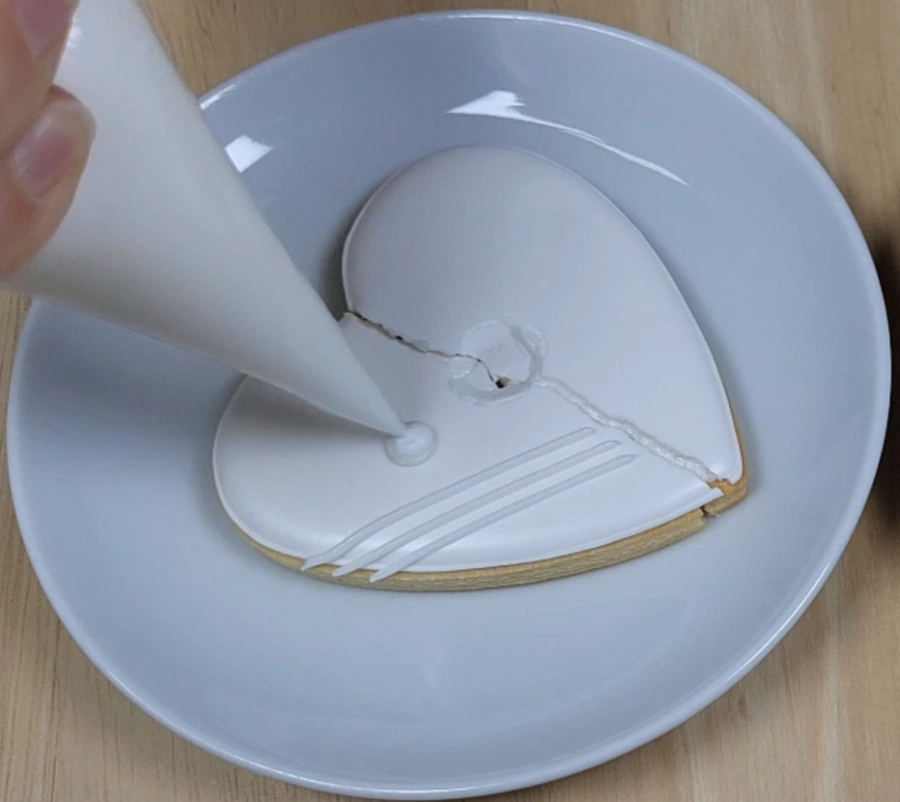
If a design needs to be transferred using a paper template (tracing with pressure), this should be done only after the icing has fully dried.
Otherwise, the surface may become deformed.
Common Drying Mistakes
- exceeding the recommended temperature
- packaging cookies before the icing has fully dried
- judging dryness only by the surface appearance
- skipping intermediate drying when decorating adjacent elements
To see how drying fits into the full decorating process → how to decorate cookies step by step .